Dark Souls Remastered Tips: All 26 Bosses Easily Defeated
16. Dragon-Slayer Ornstein and Executioner Smough

They say you never forget your first time, and there’s a reason Pikachu and Snorlax here have become so infamous. If you summon Solaire, then you are free to focus on learning each boss’ move-set separately.
With enough tries you will begin to memorise each boss' timings and learn their strengths and weaknesses. Smough can quite often get blocked behind pillars, and Ornstein has a much smaller health pool.
Don’t beat yourself up if you don’t manage to beat these bad boys first try.
15. Dark Sun Gwyndolin
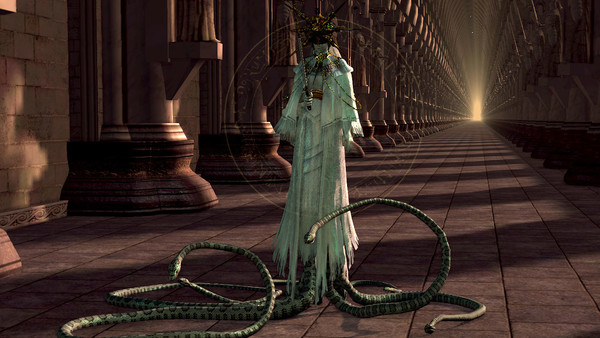
Whichever way you manage to get through to fight Gwyndolin, whether it’s shooting his big beautiful sister in the Amazing Chest, or returning here with a Darkmoon Seance Ring found exploring the catacombs, he’s an optional boss with some pretty great rewards.
Hide, roll, zig-zag, poke, focus on the chase and eventually he’ll come to a dead end. Let him have it!
14. Pinwheel

Strategy? For Pinwheel?
Well, take an upgraded weapon, and burst him down as fast as you can.
If you’re somehow not strong enough to take down this guy before he starts teleporting and cloning, zip around and hit the clones before they have time to charge up their spells. Now the only thing left to do is pray you get the right mask you want.
13. Gravelord Nito

If Nito’s immortal skeleton entourage is giving you a hard time, kill them with a Divine Weapon to make sure they cannot resurrect.
You will have grabbed the divine ember after the Moonlight Butterfly, give it to Blacksmith Andre, and infuse a +5 upgraded weapon with a green titanite shard to create a skeleton bashing machine!
Now when you kill the skeletons they will not be able to resurrect. Just be sure it's you who strikes the killing blow, and not Nito himself. Heyyy you got your first Lord Soul, neato!
12. Great Grey Wolf Sif

Sif is quick, agile, and somehow manages to wield an enormous sword. Blocking that will take a huge amount of stamina, so try to dodge through the attacks and stay underneath his legs rather than fight him head-on. Dog-lovers beware, the last few seconds of this fight are heartbreaking.
Do yourself a favour and just end it quick.
11. The Four Kings

Four Kings getting you down? Two words: Havel’s Armour, and Power Within. Okay that’s technically four words.
Armed with 20 Estus, high poise, and powerful pyromancy, believe me, my friends, you got dis. Simply eat each attack and heal up when things are looking dangerous. Keep attacking the Kings even as they are disappearing and this will still deplete the shared health bar.
You’ll have all 4 down in no time.
10. Ceaseless Discharge

If the adults in the back are done giggling, maybe I can show you a naughty little trick for this boss. Insult his mother a few times to get him to follow you, run all the way back to the fog gate.
Ceaseless actually follows you and should leap right off the cliff, ending up dangling hopelessly off the edge.
This little piggy went to market... This little piggy went straight to the depths of Lordran.
9. Demon Firesage

Here we find ourselves facing yet another reskinned Asylum Demon. Tactics are much the same as with Stray Demon, but you will benefit from a little extra magic resistance. By now you should be more than familiar with these demons' attack patterns.
Believe it or not, this boss has a sizeable resistance to fire attacks and considerable weakness to bleed attacks.
8. Centipede Demon
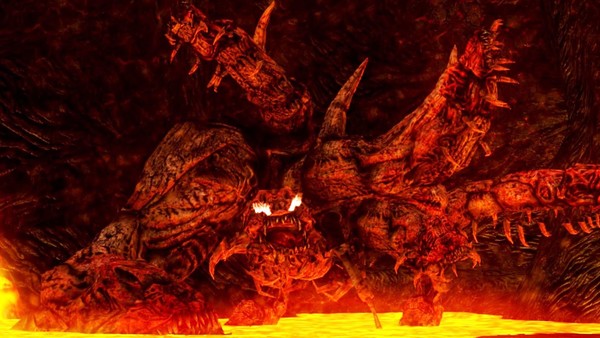
Fighting this giant mess of heads and legs at your spawn location can be tricky, as one good knock can easily send you flying face-first into the lava. Equip all your fire resistance, and charge straight through the lava towards the large space at the back right of the room.
You can even now roll behind him to cut off his tail, which nets you the Orange Charred Ring nice and early if you want to equip that for subsequent attempts to make the lava considerably less threatening.
7. The Bed Of Chaos

Now this is one bed you definitely don’t want to nap in. This boss is pretty unique, and requires a bit of problem solving.
Simply put, if you can make it to each side of the room without being swiped in the face, knocked into a chasm or incinerated, then you can attack these roots and open up the path to her heart.
High poise will make this significantly easier, so try equipping the heavy Havel's Armour, paired with Havel's Ring and a high stability shield and it will reduce your chances of being swept off your feet. Finally, put Bed of Chaos to sleep by killing the insect at her core.