God Of War: 7 Optional Bosses & Challenges You Must Find
It's not over until it's over.

As one of the most accomplished and downright playable games in recent memory, every step of God of War is designed to propel you forward; always seeking out the next challenge; the next quest; the next story beat.
It'll take you from Kratos' humble family shack all the way to the top of various mountains and back again, the entire journey being comprised of a father-son bond and a LOT of deliciously satisfying axe cleaving.
Brilliantly, even when you finally reach the credits, it's not the end.
Sony Santa Monica have essentially created a hybridised "linear open world" game - one that includes a central hub of side areas and environments to explore, but maintains a story if you just want to go quest by quest. The result is the perfect way to experience a momentous and memorable series of authored events from front to back, but you've likely left some of the best secrets tucked away for later.
From optional bosses to combat dungeons, brutally hard challenge trials and NPCs that'll take practice to defeat, God of War only really gets going, once you finish it.
7. Valkyries & The Queen Valkyrie

Easily the hardest of the bunch in terms of ridiculously hard animation sets you'll have a hard time dodging or reacting to in time, the Valkyries show up in a variety of places.
Unlockable on the world map once you've completed the "Prove Your Valor" quest, I'd recommend journeying west from the spawn point in Alfheim for a relatively easy one to get started. Defeating Kara first also grants you the Talisman of Realms: A slow-motion mode that's essential for compartmentalising a TON of damage into a short window.
Activate it when any of the Valkyries are in a stun-lock or reaction animation, and continue to make a significant dent in their health bars.
The interrim seven are pretty easy if you use this technique, spec towards Runic attacks and don't forget to use both the Leviathan Axe set and your Blades of Chaos, as they have two specials a piece.
Queen Valkyrie Sigrun is where things get cranked into another realm of hurt. Activating after you've bested the others, you'll need the best gear from Niflheim, likely a resurrection stone and your reactions sharpened to dodge when her red attacks begin.
Beating all the Valkyries rewards you with great gear, but also a final - and VERY important - story beat that's otherwise kept a secret.
6. The Soul Eater & Soul Devourer
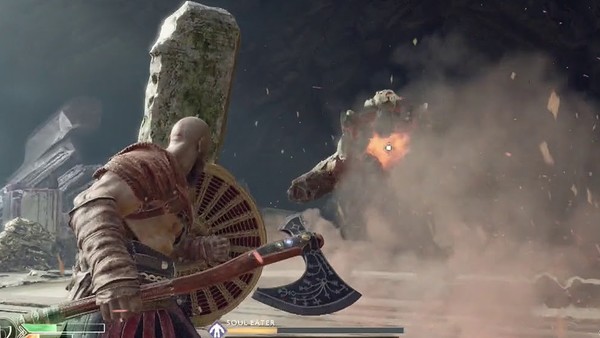
Your first taste of going up against an Ancient will be inside Alfheim in the opening portion of the story, but there are many additional ancients peppering the world, with two in particular worth seeking out, if not just for bragging rights.
While the "regular" ancients come in a variety of elemental flavours and all help give crafting components towards the Ancient Armour Set (you'll find them in Iron Cove beach, as part of the Fafnir’s Hoard Favour, at Veithurgard Pass, at the frozen lake and finally the mountain), the Soul Eater is part of Brok's Second Hand Soul Favour side-quest.
Taking it down means using the pillars in the arena to dodge attacks, and ONLY attacking when its chest is exposed. It's the standard "throw axe to trigger dropped items (in this case bombs), then use the bombs to weaken and finish it off".
For the the Soul Devourer, head to the Konunsgard Stronghold as part of the Hail to the King Favour (another of Brok's), defeat the Devourer and you'll be awarded the final pieces necessary for that awesome Ancient armour.
5. Muspelheim's Impossible Trials
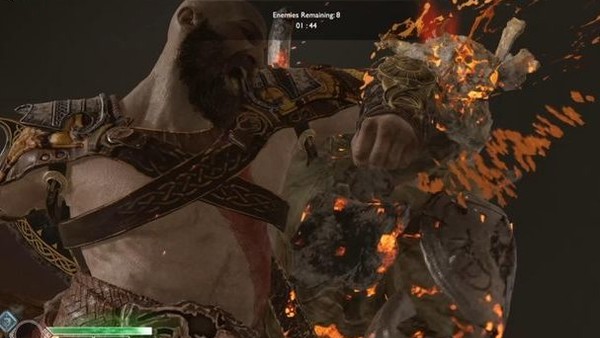
You can actually access Muspelheim around the midway point in the game after acquiring all three pieces of the rune required to activate its Bifrost portal, but I wouldn't recommend it.
Instead, save your strength until after the main campaign. There are six specific arenas and one final fight against another Valkyrie to get through, but even after that, the "Impossible Trials" open up.
Excruciatingly hard variations on what you've been doing to unlock them, you need "only" clock any three of the six to trigger another final round where wracking up as big a body count as possible drops ultra-rare crafting components.
The Impossible Trials themselves involve everything from not getting hit to defeating enemies in a specific circle on the ground. They're by far the hardest thing in the game, and you'll need luck as much as skill to survive.
4. Niflheim & The Three Tears

Alongside Muspelheim is Niflheim - the "realm" that consists of a walkway and a poison mist-caked arena.
Essentially, Niflheim is like a mini Dark Souls/Bloodborne game where the bonfire is your starting point. You'll want to venture out into the mist for varying amounts of time, bringing back "Mist Echoes" (a nod to Bloodborne's Blood Echoes) to unlock better gear to survive for longer, but this is just the beginning.
Once you've clocked the first tier of armour and resistance, you'll open up a set of stairs in the middle of the arena, where three "tears" wait to be opened.
The only way to accrue enough Mist Echoes to do so (the tears need upwards of 10,000-15,000 a piece and enemies only drop hundreds each) is to head back into the arena - though it changes in obstacle placement every time.
Going from "this is neat!" to "this is so painfully arduous", Niflheim is a challenge to your perseverance as much as anything skill-based.
3. The Dwarven Castle Fire Troll (Daudi Hamarr)
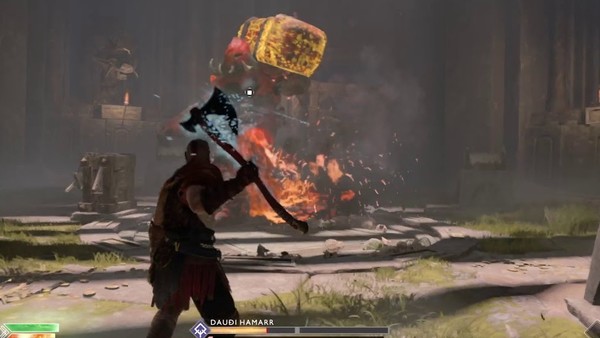
The opening Troll fight is pretty damn impressive, but Daudi Hamarr? He's the real deal.
Located in Veithurgard (which you can access through a gate in Stone Falls, itself to the east of the main lake hub), Hamarr is a high-level Fire Troll who even being close to will damage you.
Bringing him down requires constant use of your Runic abilities and a LOT of dodging if you're getting up close. I'd recommend using Atreus' summon abilities and favouring the pack of wolves or the murder of crows.
Either will stun Hamarr and let you keep up the punishment - the only thing to be mindful of amongst the pyrotechnic chaos Atreus' abilities unleash, is Daudi's big stone slab cutting on through.
2. All The Optional Travellers
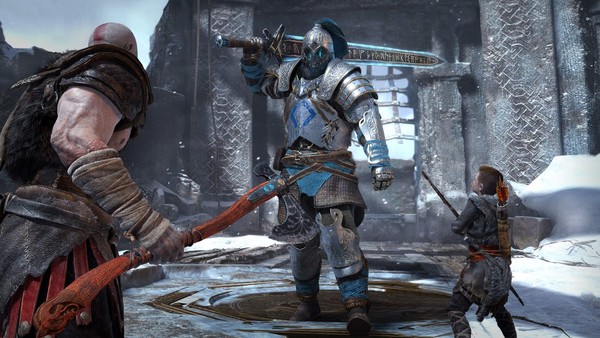
Ranging from fun one-on-one tests of dodging, combo-building and how to best manage stun-locks to outright Kratos-levels of rage, The Travellers are a perfect series of optional encounters to seek out.
A number of them are located on the main path through the game, with the others on the outcrop of every accessible gateway that looks "into" the main lake area. Each archway has a different puzzle to access, but sail nearby and you'll at least find their beach or cave entrances.
Each Traveller has a varying moveset, sharing some animations and changing others. Together they provide an increasingly manageable challenge that metes out the more you indulge in crafting better gear.
1. The Flight Of Fafnir

An awkward as hell encounter we also covered over here as something that ultimately benefits the player, Fafnir's area is a notable spike in difficulty in the first five or so hours of the game.
Pitting you against a teleporting Revenant and two heavy Draugrs that love to trigger unblockable attacks when they're not catching you with wider swing arcs, the worst bit is Fafnir himself.
The latter dragon will scorch half of the arena at regular intervals, meaning at any given time you're dodging two Draugrs chasing you down, a Revenant with seeker tendrils and proximity mines, AND the knowledge that the whole place is going to catch aflame any second.
Seriously, the only advice I have here is don't give up until you finally punch through.